Tag: mold prevention

  • Mold Remediation in Crawl Spaces | Identify, Remediate & Protect with ClO₂

    Mold Remediation in Crawl Spaces | Identify, Remediate & Protect with ClO₂

    Deep Dive & Defeat: Mold Remediation in Crawl Spaces That Actually Works 💪

    It’s time to face it: the dark, quiet crawl space under your home might look like a low-priority spot—but tucked away in that damp, hidden zone lies a real risk to your home’s health and your family’s wellness. Mold loves places that are damp, poorly ventilated, and rarely visited. Left unchecked, it can harm structural materials, trigger allergies or respiratory issues, and create lingering musty smells that just won’t go away.

    But here’s the good news: with the right strategy, you can take control, remediate the mold, and keep your crawl space dry, safe, and mold-free. And when you combine that with the power of Chlorine Dioxide (ClO₂) tablets from the team at Envirotab, you’re bringing a modern, scientifically supported tool into the fight. (Yes—you, the savvy business owner and eco-cleaning advocate, totally own this.)

    In this guide we’ll walk you through a full, step-by-step process: assessment and safety, identifying and eliminating moisture sources, chemical/ClO₂ treatment, improving ventilation, monitoring, and finally a proactive prevention plan—so you can stop the mold now and prevent it from coming back. Let’s get to it. 🧼🌱


    1. Assessment & Safety Precautions

    Before you break out your gear, it’s critical to take stock and set up for safety.

    What to inspect

    • Enter the crawl space (carefully!) and inspect all surfaces—underfloor joists, foundation walls, underside of the sub-floor, insulation, vapor barriers, ductwork and exposed soil. Note any visible mold growth (black/green/white fuzzy or slimy patches), water stains, discoloration, or musty odors.
    • Determine how widespread the problem is: is it a small isolated patch or is the entire space showing signs of mold? This will affect how aggressive your remediation plan needs to be.
    • Document conditions: take photos, measure relative humidity (with a moisture/hygrometer), check for signs of condensation, pooling water, or past leak damage.

    Safety first

    • Mold spores in crawl spaces can become airborne; disturbance without protection may exacerbate the issue or pose health risks.
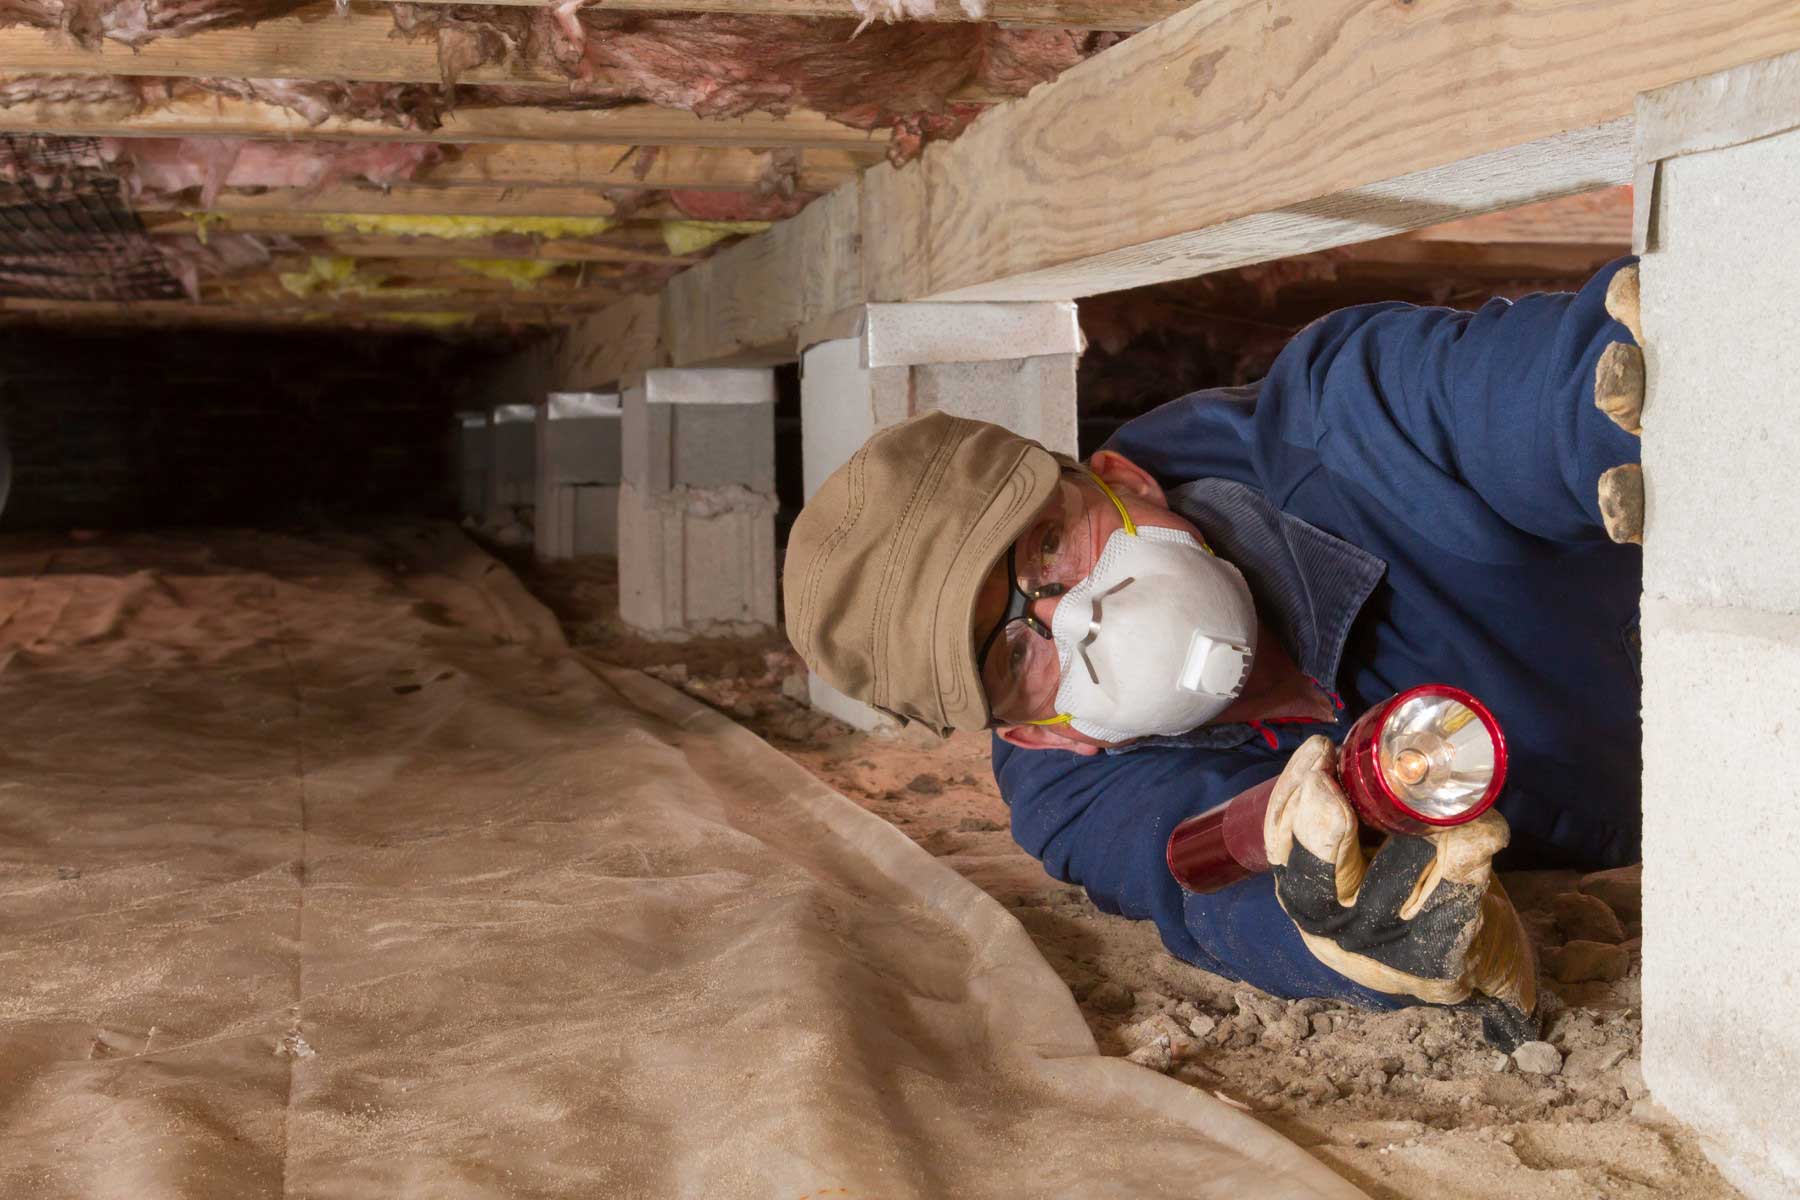
    • Gear up with PPE: gloves (nitrile or heavy duty), goggles or face shield, respirator (NIOSH-rated N95 or better—especially if disturbance is high), protective coveralls or at least long sleeves/trousers.
    • Ensure proper ventilation while working and consider isolating the space if large remediation is required (i.e., sealing off access temporarily).
    • If structural damage is present (e.g., sagging joists, extensive rot) or contamination is severe (e.g., black-mold mycotoxin risk), consult a certified remediation professional.

    By starting with a thorough assessment ― and protecting yourself ― you’re laying the foundation for a safe, effective remediation effort.


    2. Identify the Source of Moisture

    Mold doesn’t just appear out of nowhere—it grows where there’s moisture, stagnation and darkness. To fix the mold, you’ve got to remove the moisture.

    Common moisture sources in crawl spaces

    • Leaking pipes or plumbing fixtures overhead or nearby.
    • Roof or gutter leaks leading to water intrusion.
    • Rainwater or groundwater seepage through foundation walls or an unsealed floor.
    • High humidity in the region intruding into the crawl space via vents or gaps.
    • Standing moisture or damp soil when there’s no vapor barrier or poor drainage.
    • Condensation on ductwork or sub-floor undersides due to inadequate insulation.

    Key steps to identify moisture sources

    1. Look for leaks – Check pipes, fittings, HVAC lines, especially in cooling mode (condensation lines), for signs of dripping, pooling, corrosion or stains.
    2. Inspect gutters & downspouts – Ensure water is being directed away from the foundation, and that no overflow or clog is dumping near the crawl space.
    3. Check for cracks/gaps – Inspect the foundation walls, sill plates, rim joists, and flooring for gaps where water or humid air can enter. Seal these with suitable caulk, concrete patch, or foam sealant.
    4. Examine ventilation – Ensure crawl space vents are clear of debris, not blocked by insulation, and that they enable airflow. If closed, consider mechanical ventilation or encapsulation.
    5. Assess drainage – The ground slope around your home should fall away from the foundation; if it doesn’t, water may pool and seep under. Fix grading or add a perimeter drain if necessary.
    6. Consider waterproofing – In more severe cases, installation of a sump pump, foundation interior drainage system, or heavy-duty vapor barrier may be required.
    7. Monitor moisture levels – Use a moisture meter or hygrometer to measure both surface moisture and air relative humidity. If relative humidity in the crawl space remains above ~60% long-term, mold will often take root.

    Unless you remove or significantly curb the moisture source, even the best remediation may fail—spot treatments will offer temporary relief, but the mold will likely return.
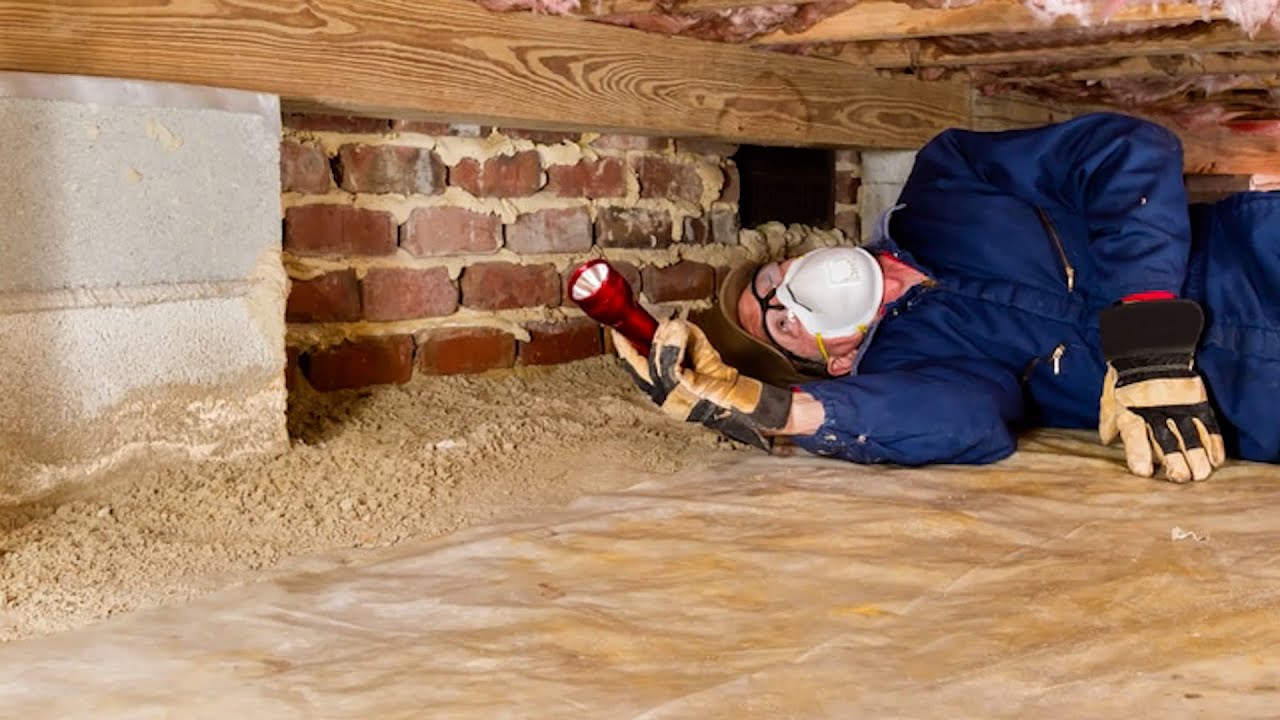
    a mold inspector identifying mold in a crawl space with a torch.

    3. Mold Treatment: Biocides / Fungicides & ClO₂ Tablets

    Now, you’ve assessed the scene and reduced moisture inputs. Next: treat the mold itself.

    Using traditional biocides/fungicides

    • After visible mold is identified, apply Biocide/fungicide solution following the manufacturer’s instructions. This breaks down mold hyphae and spores on contact and provide some residual protection.
    • Example: Spray emulsifiable on mold-infested wood, insulation, sub-floor, etc. Wait the recommended dwell time, then remove any residual mats or mold-damaged materials if necessary.
    • Important: Biocide/fungicide alone is not enough if moisture remains. Treat the mold, yes—but treat the cause.

    Enter the high-tech hero: ClO₂ tablets

    Here’s where your business angle (and eco-cleaning credibility) shines. Envirotab’s ClO₂ (chlorine dioxide) tablets offer a compelling, scientifically supported method to go beyond surface cleaning.

    • ClO₂ is a powerful oxidizing agent that can penetrate porous materials, attack mold spores and mycotoxins at the root, and reach hidden spaces that typical cleaners can’t. Mold Help For You+1
    • Compared to bleach, ClO₂ offers distinct advantages: penetrates porous surfaces, leaves no harmful residue, neutralizes odors and VOCs, and remains effective in challenging spaces. clo2tablets.com+1
    • Process (sample): Dissolve one or more tablets in warm water per label instructions → apply via spray, fogger, or controlled release in the crawl space → allow dwell time → ensure ventilation and safe re-entry. clo2tablets.com

    Application steps with ClO₂ tablets

    1. Prepare the solution: Follow the specific label for your tablet count to water ratio.
    2. Apply thoroughly: Use a sprayer or fogger and make sure to cover underside of the sub-floor, joists, foundation wall surfaces, insulation, and any accessible soil or vapor barrier surfaces.
    3. Wait for dwell time: Allow the solution or gas to penetrate and act as directed.
    4. Ventilate & purge: After application, allow fresh air into the crawl space to clear residual ClO₂ gas. Confirm safe re-entry.
    5. Repeat if needed: For heavy contamination, a second pass may be warranted.
    6. Post-treatment inspection: Use moisture/humidity meters, visual checks, and possibly air sampling (if professional) to confirm mitigation.

    The result? A crawl space where the mold risk is drastically reduced, odors eliminated, and future growth blocked out by the combination of moisture control + advanced chemistry.


    4. Improving Ventilation and Air Flow

    Even with moisture sources reduced and mold treated, if air is stagnant the space remains vulnerable. Ventilation is your next line of defense.

    Why ventilation matters

    • Good airflow helps remove moisture-laden air, reduces condensation, and limits the micro-climate mold thrives in.
    • Without adequate ventilation, even a dry crawl space may suffer from pockets of high humidity, hidden mold growth, and odor build-up.
    • For older homes or homes in high-humidity coastal zones (hello Maine tidal waters!), passive vents often don’t cut it.

    Practical upgrades

    • Install vents or upgrading existing ones: Ensure each vent opening is clear of debris, graded such that fresh air enters and stale air exits.
    • Add mechanical ventilation: In some cases a small fan or crawl-space blow-through system (ideally linked to a humidity sensor) is ideal.
    • Install a dehumidifier: In enclosed or encapsulated crawl spaces, a dedicated dehumidifier can maintain relative humidity under ~55%.
    • Encapsulate the crawl space: Lining the floor and walls with a heavy-duty vapor barrier, sealing perimeter walls, insulating rim joists and potentially turning the crawl into a conditioned space.
    • Ensure insulation and ductwork are properly managed: Insulate cold ducts and ensure no leaks dump cool air into warm crawl space causing condensation.
    • Maintain ongoing monitoring: Set a schedule (monthly/quarterly) to check humidity, visible signs of moisture, and ensure vents/fans remain unblocked and functional.

    When airflow, moisture management and remediation are all integrated, you’re moving from “fixing a problem” to “securing the system” for long-term health.


    5. Monitoring & Preventive Maintenance

    Remediation is not a “one-and-done” event—it’s a system that requires monitoring and regular care. Here’s how to stay ahead of mold in your crawl space.

    Key metrics & checks

    • Relative humidity (RH) in the crawl space—ideally under ~55% in most climates; <60% at minimum.
    • Surface moisture or standing water—check after heavy rain, spring thaws, or major storms.
    • Vapor barrier integrity—inspect for tears, displacement, or mold growth on or behind the liner.
    • Ventilation efficacy—are the vents open, clear, fans working, ductwork sealed?
    • Visual inspections—biannual walk-throughs to check for new growth, discoloration, musty odors, insulation issues, piping condensation.
    • Record-keeping—maintain logs of inspections, humidity readings, actions taken. This is especially valuable if you manage multiple properties or will look to scale this as part of your eco-cleaning service offering.

    Preventive actions

    • After any significant leak or flooding event, do an immediate inspection and treatment if needed.
    • Annual application of ClO₂ or other maintenance chemical treatment in high-risk zones may prevent re-growth of hidden spores.
    • Ensure landscaping and grading stay effective—remove vegetation near foundation that may trap moisture; keep downspouts extended away.
    • If you discover new plumbing or HVAC runs under the house, ensure they are insulated, sealed, and installed without introducing new condensation risk.
    • Educate occupants or maintenance teams: no storing cardboard, wood, or other moisture-absorbing items directly on crawl space floor; keep it as clear and breathable as possible.

    By turning your crawl space into a monitored, managed environment, you protect your home, health and investment.


    6. Why This Matters for Homeowners — and for Your Business

    As the owner of Synergy‑Americas and marketing manager for eco-cleaning products, you know that educating your market is key. Here’s why tackling crawl space mold is a strategic win:

    • Health & safety: Mold in crawl spaces can unleash spores and mycotoxins into the home’s HVAC and living spaces—impacting indoor air quality, allergies, asthma and general health.
    • Property value & longevity: A dry, mold-free crawl space protects structural materials—joists, sub-floor, insulation—from rot and degradation. That means fewer repairs, longer lifespan, higher resale value.
    • Eco-friendly cleaning credibility: Using advanced solutions like ClO₂ tablets positions your brand as forward-thinking, scientifically grounded and eco-responsible—key differentiators in today’s market.
    • Market expansion opportunity: Homeowners with older homes, homes in humid zones, or rental/management properties all represent ideal segments for your message. The crawl space is an often overlooked “frontier” for cleaning/remediation services.
    • Content marketing & thought leadership: This deep dive article positions you as a subject-matter expert. It can be repurposed into LinkedIn posts, Google Business Profile articles, email newsletters and campaign landing pages.

    Conclusion: From Hidden Threat to Healthy Home 🌱✨

    A crawl space might be out of sight — but it should never be out of mind. Beneath your home lies an ecosystem that directly impacts your air quality, structural integrity, and long-term investment. Mold doesn’t just “happen”; it thrives when we ignore the warning signs — moisture, poor ventilation, and neglect.

    By following the steps we’ve outlined — assessment, moisture control, treatment with ClO₂, improved ventilation, and continuous monitoring — you’re not just cleaning a space; you’re restoring balance to your home’s foundation. You’re eliminating health risks before they spiral, protecting your property from decay, and setting a new standard for how we care for our living environments.

    Using ClO₂ tablets transforms mold remediation from a reactive cleanup into a proactive science. It’s eco-friendly, powerful, and forward-thinking — a perfect reflection of what modern home care should be. Traditional methods may mask the problem, but ClO₂ tackles it at the molecular level — neutralizing mold, bacteria, and odors while leaving no harsh residues behind. That’s clean technology meeting real-world need.

    Remember:

    The health of your home begins where you rarely look.
    Don’t wait for musty smells, soft floors, or allergies to tell you something’s wrong.

    If you suspect crawl space mold — act fast. Inspect. Treat. Protect. And keep your home’s underbelly as clean and cared for as the rooms you live in.

    Whether you’re a homeowner safeguarding your family or a cleaning professional elevating your service standards, it’s time to move from surface-level cleaning to structural health. The difference is lasting, measurable, and worth every bit of effort.

    Take back control.
    Take back the air you breathe.
    And let your home — from top to crawl space — truly shine. 🌎✨


    10 Frequently Asked Questions About Model Remediation in Crawl Spaces (FAQs)

    1. Q: How do I know if my crawl space has mold?
      A: Look for visible discoloration or fuzzy growth on walls, joists or sub-floor, musty odors, elevated humidity readings (>60 %), or health symptoms in occupants (allergy, respiratory issues). A professional inspection can include air sampling.

    2. Q: Can I treat crawl space mold myself or do I need a professional?
      A: For small, isolated patches and when you can manage moisture sources and safety gear, a homeowner can treat it. But if the infestation is large (>10 sq.ft.), structural damage is present, or you detect black-mold/mycotoxin risk, a professional is advised.

    3. Q: Why do we address moisture first? Is that really that important?
      A: Absolutely. Mold needs moisture to grow. If you remove visible mold but leave the moisture source intact (leaks, high RH, poor drainage), the mold will likely return. Fixing moisture is fundamental.

    4. Q: How do ClO₂ tablets differ from bleach or standard fungicides?
      A: ClO₂ is a strong oxidizing agent that penetrates porous materials, kills spores and can eliminate mycotoxins and odors. Bleach often only acts on surface mold, leaves residue and doesn’t reach hidden spaces well. clo2tablets.com+1

    5. Q: Is ClO₂ safe to use in a crawl space?
      A: Yes—when used according to label instructions, with proper ventilation and safety gear. It leaves no harmful residues and has been shown effective for mold remediation. That said, always follow manufacturer guidelines and local regulations.

    6. Q: How often should I monitor my crawl space after remediation?
      A: At minimum, inspect twice a year (spring and fall). Also check after major weather events or plumbing/HVAC changes. Maintain humidity logs monthly if possible.

    7. Q: What level of relative humidity is safe for a crawl space?
      A: Aim for RH < 55% in most climates. If it remains above ~60% long-term, you are at increased risk of mold growth.

    8. Q: Will drywall or insulation need to be replaced after mold remediation?
      A: Possibly. If mold has penetrated insulation or drywall to the point where removal is more cost-efficient than cleaning, replacement is often the best choice. Treated materials should be approved/cleared for reuse.

    9. Q: What’s the difference between passive venting and encapsulation of a crawl space?
      A: Passive venting uses air-vents to allow outdoor air flow; works sometimes in cooler, dry climates. Encapsulation involves sealing the crawl space, installing a vapor barrier, often a dehumidifier and turning the space into a more managed environment. Encapsulation is typically more effective in humid zones.

    10. Q: Can I include this crawl space remediation service in my marketing for eco-cleaning?
      A: Yes—and strongly should. Highlight the hidden risks of crawl space mold, the health benefit, the structural protection, and your use of advanced tools like ClO₂ tablets. Use case-studies, before/after photos and emphasize your holistic approach: moisture control → remediation → monitoring.


  • Fall Mold Prevention with ClO₂ | Envirotab Solutions

    Fall Mold Prevention with ClO₂ | Envirotab Solutions

    Fall Mold Season: Why Autumn Is the Perfect Storm for Mold (and How ClO₂ Protects Your Home)

    Autumn is a magical season: the leaves turn brilliant shades of red, orange, and gold, the air grows crisp, and the scent of apple cider and pumpkin spice fills the home. Yet beneath the beauty lies a hidden danger: mold season is upon us. As trees shed their leaves, temperatures drop, and moisture increases, your home becomes a perfect breeding ground for mold spores.

    Mold isn’t just unsightly — it can damage structures, furniture, fabrics, and even impact your health. From sneezing and allergies to respiratory issues, mold can silently compromise your living environment. But here’s the good news: with the right approach, you can prevent mold before it starts.

    ClO₂ (chlorine dioxide) is a powerful, safe, and environmentally-friendly solution that helps homeowners keep mold at bay, especially during the fall. In this comprehensive guide, we’ll cover why fall is prime mold season, how mold spreads, and step-by-step prevention strategies using ClO₂ for a clean, safe home.


    Why Fall is the Perfect Mold Season

    Several factors converge in autumn to create ideal mold conditions:

    1. Falling Leaves and Decay
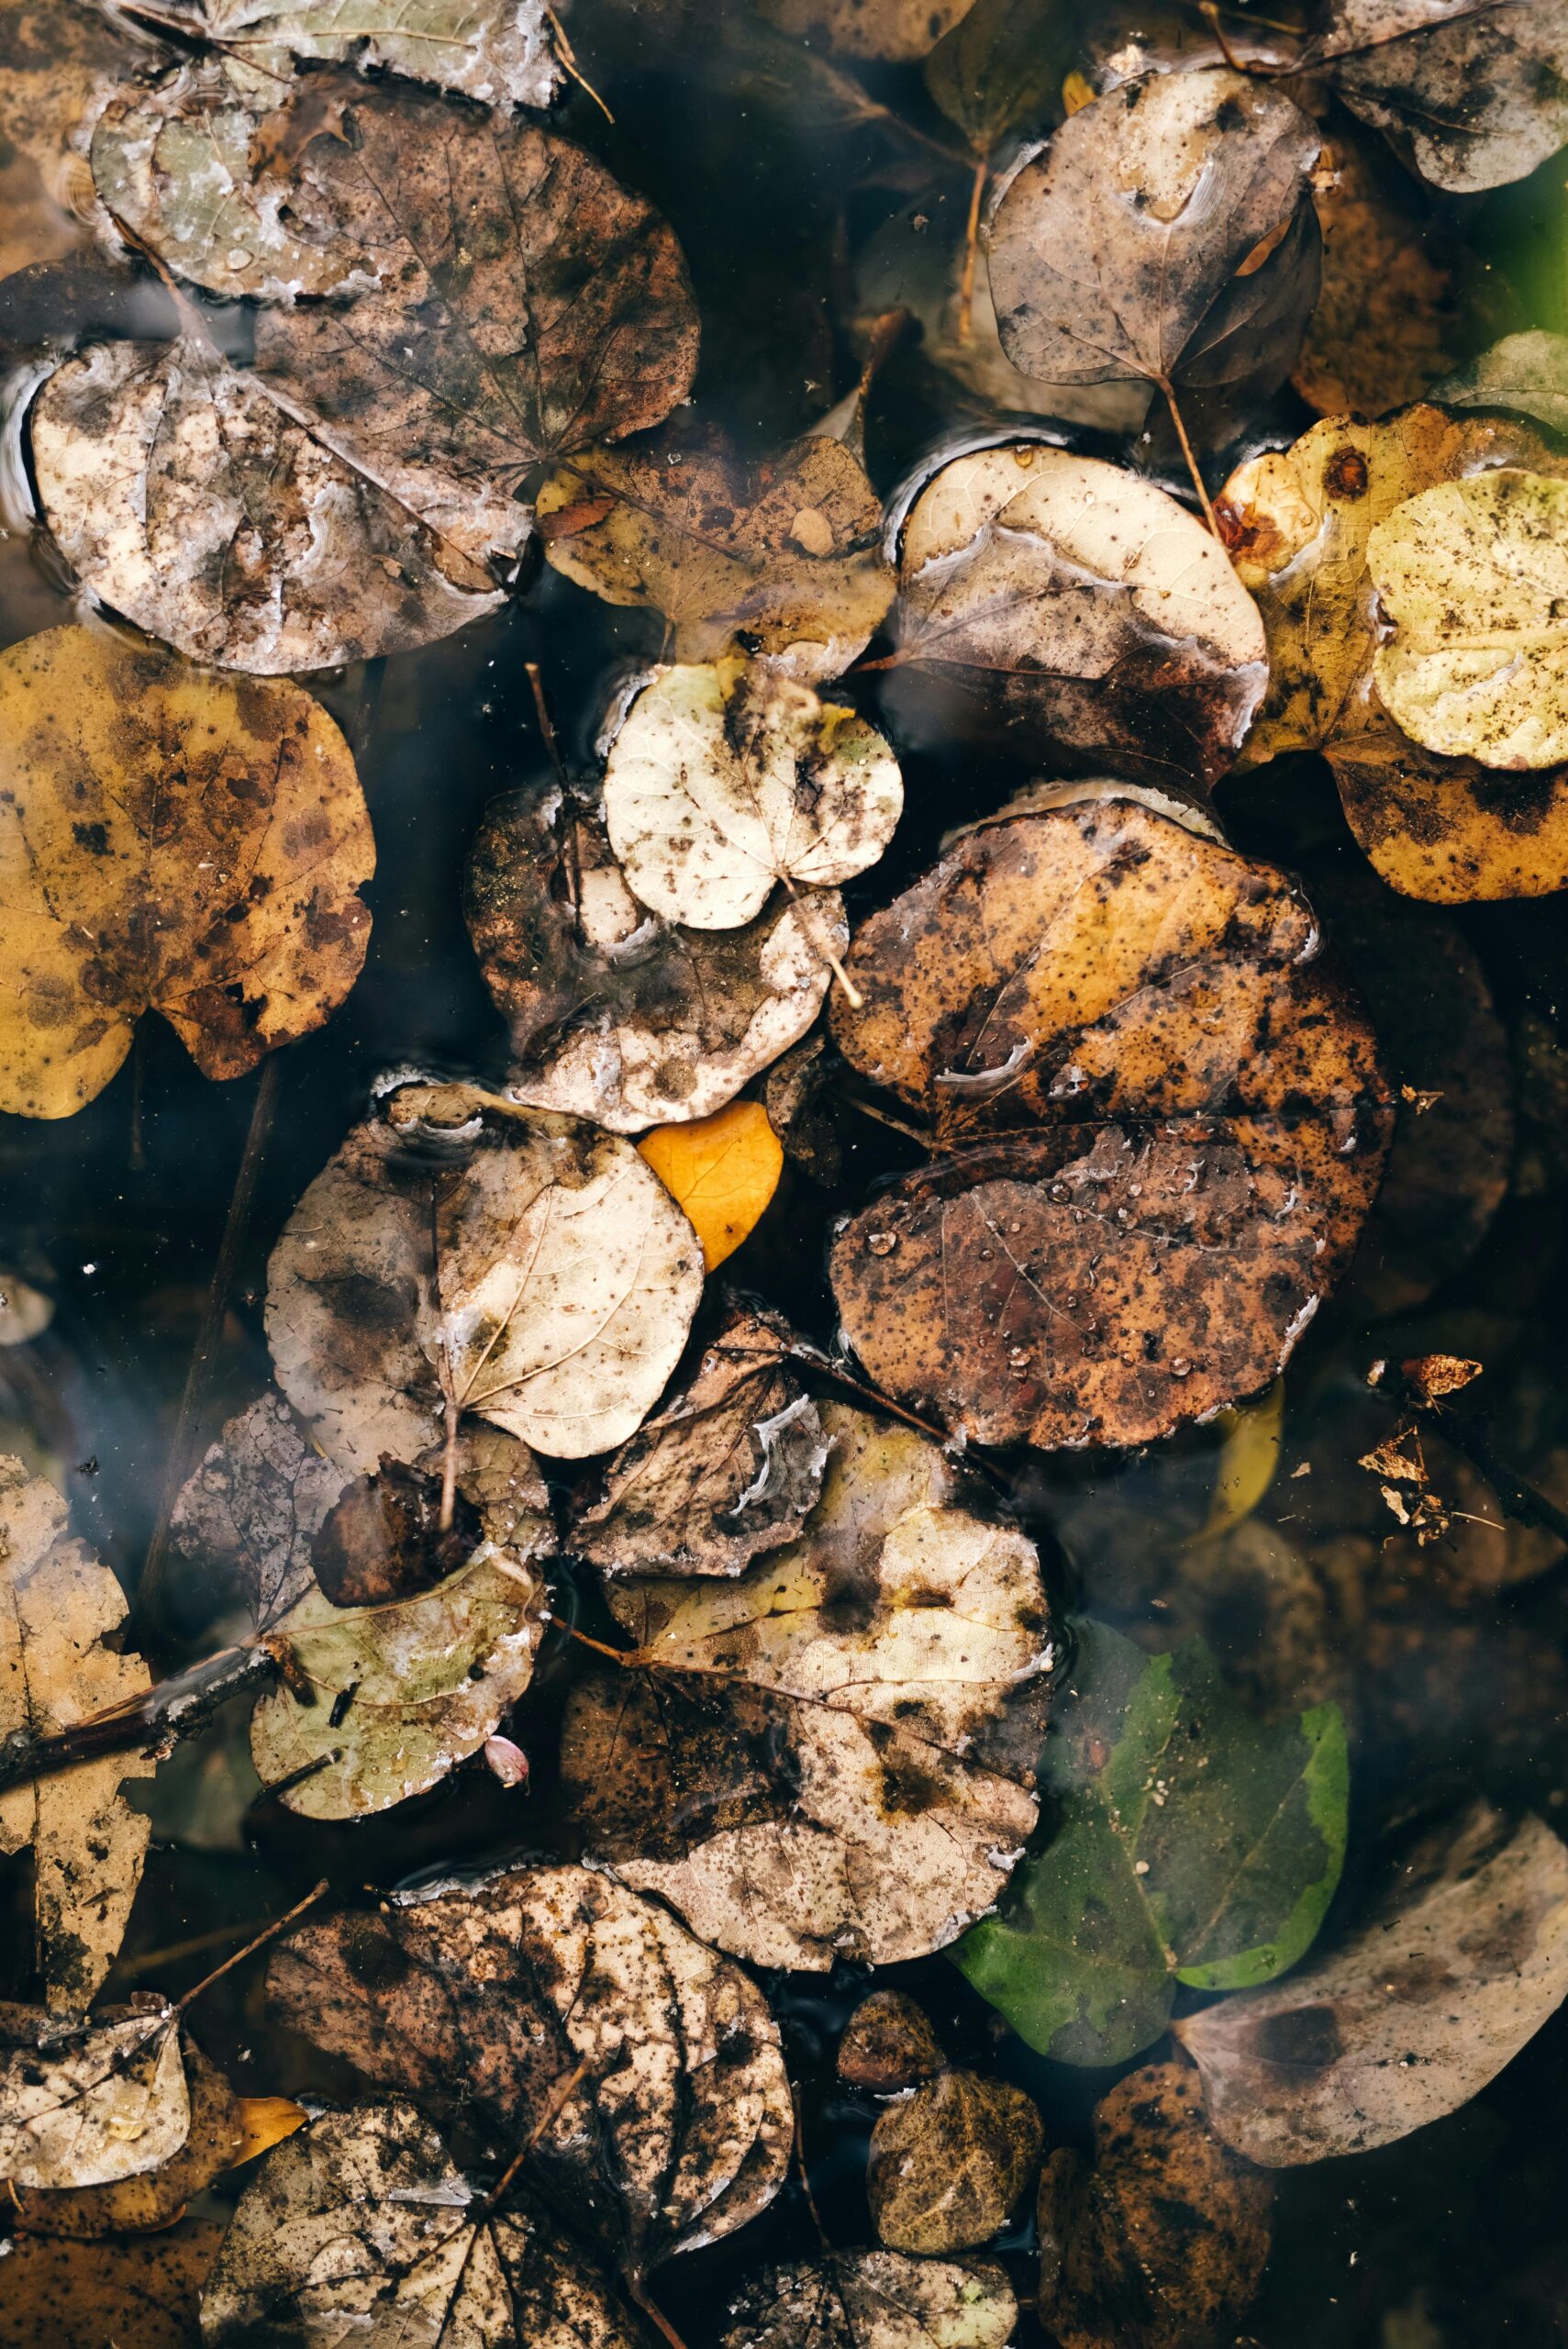
      The carpet of leaves in your yard or around gutters doesn’t just look beautiful — it’s organic matter that retains moisture. Mold loves decomposing leaves and can migrate indoors if not managed.

    2. Cooler Temperatures and Higher Humidity
      As temperatures drop, condensation increases on windows, in basements, and on other cold surfaces. The combination of moisture and cooler air triggers mold spores to germinate.

    3. Shorter Days, Less Sunlight
      Sunlight naturally inhibits mold growth. With shorter fall days, indoor areas like basements and attics get less natural light, creating dark, damp environments perfect for spores.

    4. Seasonal Gear and Storage
      Fall means sleeping bags, tents, coats, and outdoor gear are being put away. If stored damp, these items can harbor mold and spread it indoors when unpacked.

    5. HVAC Systems
      Heating systems are often turned on for the first time in fall. Dust and moisture in ducts can contribute to indoor mold growth if filters or ducts aren’t properly maintained.


    Fall always is greeted with awe and splendor as we admire the colors, but with it comes mold.Understanding Mold: What You Need to Know
    Mold is a type of fungus that reproduces via microscopic spores. These spores are everywhere — in the air, soil, and even on surfaces in your home. When they find a moist, dark, and nutrient-rich environment, they germinate and multiply. Common indoor molds include Aspergillus, Cladosporium, and Penicillium, each with its own characteristics.

    Health risks vary depending on exposure and sensitivity:

    • Mild: sneezing, congestion, itchy eyes, skin irritation

    • Moderate: persistent allergies, fatigue, headaches

    • Severe: respiratory infections, asthma exacerbation, immune system complications

    Mold can also compromise the structure of your home, slowly eating away at drywall, insulation, wood, and fabrics. Early prevention is critical — and that’s where ClO₂ comes in.


    Why ClO₂ is Your Best Fall Mold Defense

    Chlorine dioxide (ClO₂) is a potent oxidizer that neutralizes mold spores before they can grow. Unlike bleach, ClO₂ penetrates porous materials, kills bacteria, and leaves surfaces safe and residue-free.

    Key advantages of ClO₂ for fall mold prevention:

    • Versatile: Use on floors, walls, fabrics, and outdoor gear

    • Safe: Non-toxic at proper concentrations, safe around pets and children

    • Effective: Targets spores at the source, stopping mold before it spreads

    • Eco-Friendly: Breaks down into harmless compounds after use


    Step-by-Step Fall Mold Prevention Plan

    1. Inspect Your Home Thoroughly

    • Check basements, attics, crawl spaces, and garages for moisture or visible mold

    • Look behind furniture, under sinks, and around windows

    2. Manage Moisture

    • Use dehumidifiers in damp areas

    • Fix leaks promptly (roof, plumbing, windows)

    • Ensure proper ventilation in bathrooms and kitchens

    3. Clean Organic Debris

    • Remove fallen leaves, sticks, and debris from gutters, yards, and walkways

    • Keep areas around the home dry and aerated

    4. Treat Surfaces with ClO₂

    • Dissolve Envirotab ClO₂ tablets in water as directed

    • Wipe down hard surfaces, fabrics, and stored gear

    • For tough areas (basements, crawl spaces), spray lightly to penetrate cracks

    5. Proper Storage of Seasonal Gear

    • Ensure tents, sleeping bags, and jackets are completely dry before storing

    • Use breathable containers rather than plastic bags for moisture control

    • Apply ClO₂ treatment to fabrics if stored for extended periods

    6. Monitor and Maintain HVAC Systems

    • Replace filters regularly

    • Clean ducts to prevent mold spores from circulating indoors

    7. Regularly Check and Reapply ClO₂ as Needed

    • Maintain a fall schedule: biweekly or monthly depending on humidity

    • Keep treated surfaces dry to maximize effectiveness


    Case Studies: Real-World Fall Mold Prevention with ClO₂

    Basement Success Story:
    A Maine homeowner noticed dampness and a musty smell in her basement every fall. Using Envirotab ClO₂ solution, she cleaned the foundation walls, floors, and storage bins. Within days, the musty odor disappeared, and no visible mold grew during the season.

    Outdoor Gear Protection:
    A camping enthusiast applied ClO₂ to sleeping bags and tents before winter storage. The items remained fresh, mold-free, and ready for spring adventures — no more mildew or odors.

    HVAC System Maintenance:
    A small business used ClO₂ to treat air ducts during fall startup. Mold spores and bacteria were neutralized, improving indoor air quality for employees and customers.


    Mold in the fall is the most over looked idea. With the fall rains and decaying leaves mold can really mess with your allergies.FAQs – Fall Mold Season & ClO₂

    1. What causes mold to grow more in fall?
      Increased moisture, decaying leaves, cooler temperatures, and shorter sunlight hours all create ideal conditions.

    2. Is ClO₂ safe around kids and pets?
      Yes, when used according to instructions, ClO₂ is non-toxic and safe for households.

    3. How often should I treat my basement with ClO₂?
      Typically every 2–4 weeks during fall, or after periods of heavy rain or humidity.

    4. Can ClO₂ remove existing mold or just prevent it?
      ClO₂ can both prevent and eliminate early-stage mold growth; severe infestations may require professional remediation.

    5. What’s the best way to store autumn gear to avoid mold?
      Ensure all items are dry, store in breathable containers, and consider a light ClO₂ treatment for long-term storage.

    6. Are leaves near my home a real risk factor for mold?
      Yes, wet leaves can retain moisture and become a breeding ground for spores.

    7. How does ClO₂ compare to bleach for mold prevention?
      ClO₂ penetrates porous surfaces, doesn’t leave harmful residues, and works at lower concentrations without harsh fumes.

    8. Can ClO₂ be used on fabrics and clothing?
      Yes, ClO₂ is safe on most fabrics and helps prevent mildew during storage.

    9. How quickly does mold appear in damp fall conditions?
      Mold can start growing within 24–48 hours under ideal conditions.

    10. Can ClO₂ improve indoor air quality while preventing mold?
      Yes, by neutralizing spores and bacteria, ClO₂ contributes to a healthier, fresher indoor environment.


    Stay Ahead of Fall Mold with ClO₂

    Autumn’s beauty comes with hidden risks — damp leaves, cooler temperatures, and dark corners create the perfect environment for mold. Left unchecked, mold can damage your home, your belongings, and your health.

    The good news? You don’t have to wait until mold appears. By taking proactive steps — from proper cleaning and storage to using ClO₂ for safe, effective prevention — you can protect your home and family all season long.

    💡 Action Steps:

    1. Inspect and clean damp areas regularly

    2. Keep seasonal gear dry and treated

    3. Apply ClO₂ to surfaces and fabrics to neutralize spores before they spread

    This fall, don’t just admire the changing leaves — take control of mold before it takes control of your home. A clean, safe, and healthy environment is just a few steps (and a ClO₂ treatment) away.

  • “How do I Use Chlorine Dioxide Tablets to Clean & Sanitize HVAC Systems, Ducts, & Drain Lines”

    “How do I Use Chlorine Dioxide Tablets to Clean & Sanitize HVAC Systems, Ducts, & Drain Lines”

    ClO₂ HVAC Cleaning: Duct, Air & Drain Line Sanitization Guide

    Summer humidity isn’t just sticky—it’s a breeding ground for hidden contaminants in your HVAC system. From dusty ducts that harbor mold and biofilm to air that flows through with unseen pathogens, and drain lines that clog and grow microbial film, these problems quietly degrade indoor air quality and can impact health.

    The good news? You don’t need harsh chemistry or guesswork—just a science-backed approach using chlorine dioxide (ClO₂) tablets. Whether you’re a homeowner, facility manager, or cleaning professional, here’s exactly how to use ClO₂ to clean HVAC ducts, sanitize the air, and keep drain lines clear—all while staying safe for pets, families, and sensitive indoor environments.

    Short answer is YES! This is how.

    Section 1: First Question—What’s Your Goal?
    Before doing anything, ask:

    Are you trying to clean the interior surfaces of the ductwork (the physical build-up), or simply sanitize the air passing through?

    They require two different approaches. If the ducts themselves are suspect—old build-up, odors, previous use as a high-contamination space (we see this a lot from repurposed homes, old animal shelters, etc.)—start with surface cleaning. If the structure is already clean and you just want healthier air circulation, you can take a lighter-touch approach.

    Section 2: Cleaning the Interior Surfaces of Ductwork

    When to do this:

    • You smell lingering must or organic funk coming from vents
    • The property has had heavy previous use (e.g., pet shelter, long-term occupancy without proper maintenance)
    • Visible dust build-up, mold spotting, or you’re doing a proactive deep remediation

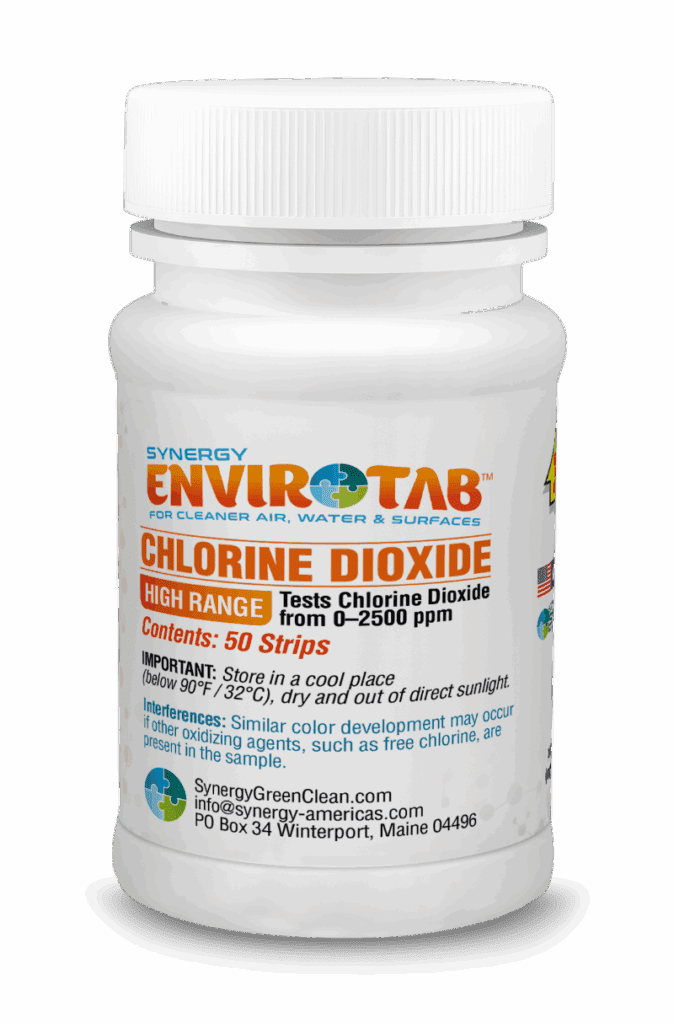
    High Range Test Strip BottleStep-by-step:

    1. Start with a professional dry brush + vacuum duct cleaning.
      • This removes physical debris, dust, and loose biofilm. You can coordinate or guide your contractor—this is the foundational prep.
    2. Prepare a 200 ppm ClO₂ mist for remote surface sanitation:
      • Dissolve one 4g Envirotab (chlorine dioxide tablet) into ½ gallon of lukewarm water (64 oz total solution).
      • Let it fully activate per product instructions (you’re creating a ~200 ppm working solution).
      • High Range Test Stips are now available for accurate measurements of Chlorine Dioxide PPM mixtures.
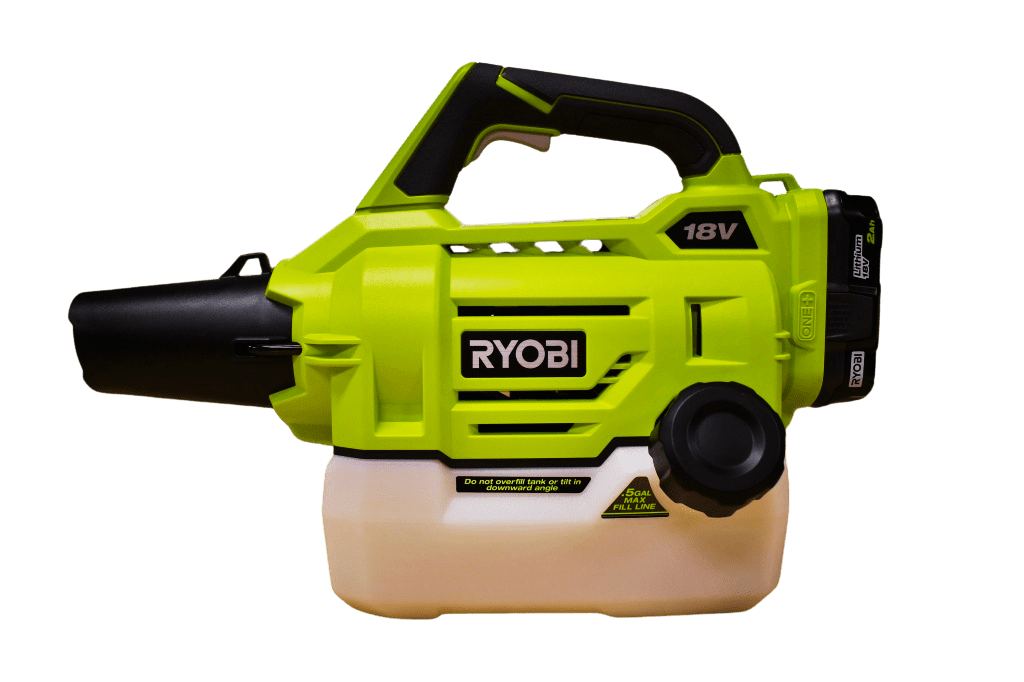
      • Load this solution into a fogger/mister (recommendation: consumer-grade cordless fogger like the Ryobi style, but professional units also work).
    3. Activate the HVAC blower (fan override):
      • Find the bypass or fan override that runs the blower without heating or cooling.
      • This creates airflow through the cold-air returns. (Tip: test each return with a piece of paper—cold-air returns will pull it in, supply vents blow it away.)
    4. Remote misting:
      • In short 1-second bursts, spray the ClO₂ mist into each cold-air return.
      • The airflow will carry the mist deep into the duct network, contacting interior surfaces without needing direct access.
      • Continue for ~30 seconds per return, then move to the next.
      • After treating all returns, turn off the fan override and resume normal HVAC operation.

    ryobi misterWhy this works:

    The fine 200 ppm ClO₂ mist oxidizes and sanitizes residual microbial growth, odor-causing compounds, and surface contaminants without leaving harmful residues—breaking down into benign byproducts.

    Section 3: Sanitizing the Air Passing Through (When Duct Surfaces Are Already Clean)

    If your ducts are structurally clean and you’re focused on airborne sanitization, go lighter—no misting or duct override required.

    Solution:

    • Order and place 200g OdorPros Pouches in or near your HVAC airflow:
      • Position them on either side of the air filter, or under cold-air return grilles.
      • IMPORTANT: Do not place pouches directly on metal surfaces. Instead, set them on a paper plate, cardboard, or similar spacer to avoid local oxidation damage to duct metal from moisture interaction.

    These pouches release controlled ClO₂ vapor that continuously treats incoming or returning air—reducing odors, microbes, and volatile organic compounds without active intervention.

    Section 4: Cleaning & Protecting the Condensate/Chiller Drain Line

    Why it matters: Drain pans and condensate lines are moisture traps where biofilm and microbial growth establish quickly. Left unchecked, they contribute to smell, clogs, and even retrograde contamination into the air system.

    Two-part protocol:

    1. Manual cleaning (best practice):
    • Use the Envirotab Wiper Starter Kit (with spray mixture and wipers) to clean and rinse the condensate tray/pan.
    • Physically remove grime and biofilm so that the ClO₂ can work on prevention—not just mask issues.
    1. Preventive dry tablet placement:
    • Place a single dry 1g tablet directly on the plastic surface of the drain pan (only if it’s plastic—this is the one case where you don’t dissolve into water).
    • As condensation collects, the tablet reacts with liquid to slowly release ClO₂, guarding against biofilm build-up in the drain line.
      • Reminder: The usual rule is “add tablets to water, not water to tablets”—this is the exception because the slow moisture contact allows controlled activation safely.

    Section 5: Safety & Best Practices

    • Always follow product labeling and dilution instructions.
    • Use personal protective equipment if you’re misting in confined service spaces (gloves, eye protection).
    • Keep pets and people away from active fogging until treated air has circulated and normal airflow resumes.
    • Do not place OdorPros pouches directly on metal—use insulation to prevent localized metal oxidation.
    • Schedule routine maintenance: Clean the drain pan quarterly if humidity is high or the system sees heavy use.HVAC cleaning

    Closing / Call to Action:

    Whether you’re maintaining a home, managing a facility, or rescuing a space with tough history, chlorine dioxide gives you an intelligent, safe, and scalable way to sanitize HVAC systems from air to drains.

    You’ve got the problems: summer humidity, hidden microbial growth, cycling odors, and compromised indoor air quality.
    You’ve now got the solutions: science-backed ClO₂ protocols that work where it counts.

    Ready to get started?

    Explore our full line of Chlorine Dioxide cleaning and HVAC remediation products at clo2tablets.com, and if you’d like a technician-ready version of this protocol for your team or contractor, I can package that next.

  • Are CLO2 Tablets the Secret to a Cleaner, Healthier Home?

    Are CLO2 Tablets the Secret to a Cleaner, Healthier Home?

    🌿 Discover Why CLO₂ Is the Eco-Friendly Powerhouse Your Cleaning Routine Needs
    🧼 Clean Deeper, Live Healthier—with the Power of CLO₂

    Keeping a home clean isn’t just about appearances—it’s about creating a healthy environment for your family 👨‍👩‍👧‍👦. But with so many cleaning products out there (many packed with questionable ingredients ⚠️), how do you choose the right one?

    More and more homeowners are turning to chlorine dioxide tablets—a powerful, versatile, and eco-friendly cleaning solution 🌱 that’s changing the game in household care.


    🦠 Next-Level Disinfection, Without the Drama

    Chlorine dioxide is a powerhouse disinfectant 💥. When dissolved in water 💧, these tablets release a potent gas that kills bacteria, viruses, fungi, and other harmful microbes.

    🧽 Use it on:
    🍽️ Kitchen counters
    🚽 Bathroom surfaces
    🚪 High-touch areas like door handles, light switches, and remotes

    Where traditional cleaners fall short, CLO₂ delivers medical-grade sanitation—right at home. 🏡✨


    👃 Neutralize Odors at the Source

    Forget the floral-scented cover-ups 🌸❌.
    Chlorine dioxide tablets break down the molecules causing foul smells, permanently removing:

    🐕 Pet odors
    🍳 Cooking smells
    🌫️ Musty basement funk

    No masking. No residues. Just clean, breathable air 🌬️.


    🚫 Mold & Mildew? Not in This House

    Bathrooms, basements, and damp corners are breeding grounds for mold and mildew 🦠.
    CLO₂ tablets work at the microbial level, not just wiping the surface but helping stop the problem at its root.

    🌿 A quick treatment can:
    ✅ Eliminate existing mold
    ✅ Prevent new growth
    ✅ Improve air quality for allergy sufferers 🤧


    🛡️ Non-Toxic. Non-Carcinogenic. Totally Peace-of-Mind Friendly.

    Say goodbye to harsh, chemical-laden cleaners 👋🧪.
    When used as directed, chlorine dioxide is:

    ✅ Non-toxic
    ✅ Non-corrosive
    ✅ Biodegradable
    ✅ Safe around pets and kids 🐾👶

    It breaks down into salt and water—strong for germs, gentle on your space 💚.


    🧪 No Mess. No Measuring. Just Drop & Go.

    With pre-measured CLO₂ tablets, there’s no guessing 🎯.
    Just drop the tablet into water, wait a minute or two ⏱️, and get cleaning like a pro.

    💡 Perfect for:
    🚿 Quick disinfecting
    🧴 Room-wide odor removal
    🌀 Fogging or soaking stubborn spots


    🔄 More Than Just a Surface Cleaner

    The versatility of chlorine dioxide tablets is unmatched 🔥.

    🧼 Use them for:
    🚰 Purifying drinking water
    🍎 Rinsing fruits and veggies
    🛥️ Freshening RVs, boats, garages, and more

    One tablet. Countless applications. All clean. 🌟


    💥 The Verdict? This Tiny Tablet Packs a Massive Punch

    From eliminating pathogens 🦠 to deodorizing your space 🌀, chlorine dioxide tablets are your ultimate cleaning companion.
    They’re safe, powerful, eco-conscious, and oh-so-easy to use.

    👉 Ready to transform your cleaning game?
    Grab your Envirotab 1g ClO₂ Tablets here and experience the kind of clean that actually means clean. 🧽🌍💧


    Let me know when you’re ready for your next blog post emoji infusion!